
Last updated November 15, 2026
The Stratos stores up to 100 named GPS markers. You can set any marker as the DIP (Desired Impact Point), the HARP (High Altitude Release Point), or both. The Stratos then shows the distance to the HARP in the aircraft, and navigates you to the DIP in freefall and under canopy.
Where the DIP and HARP Show #
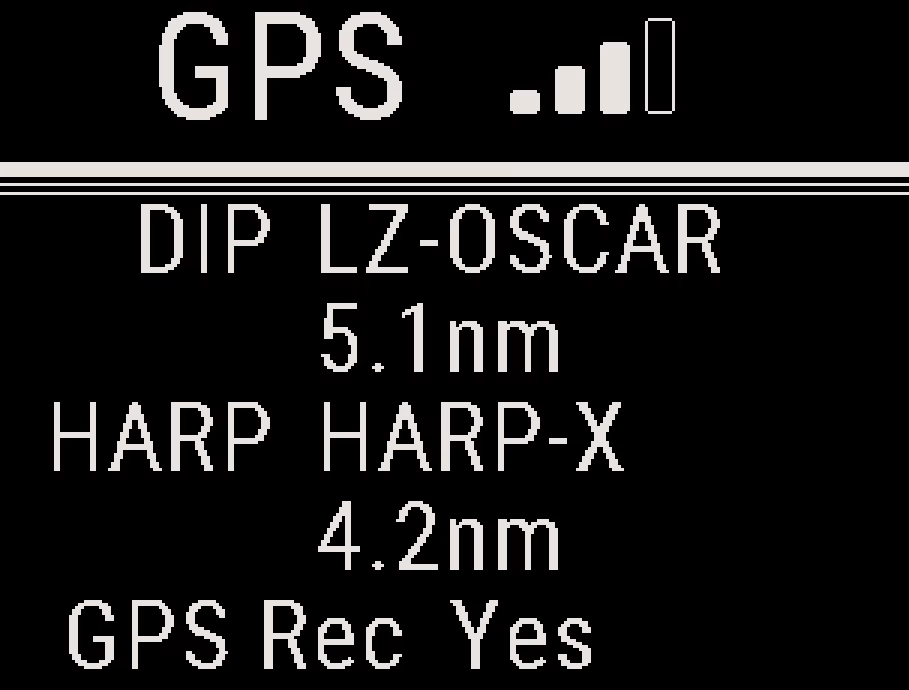
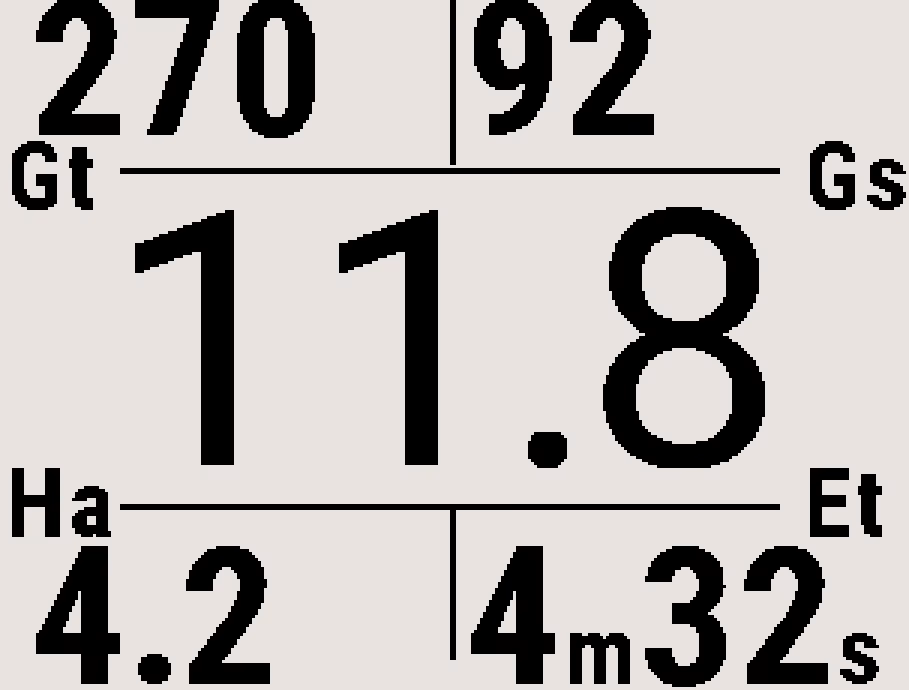
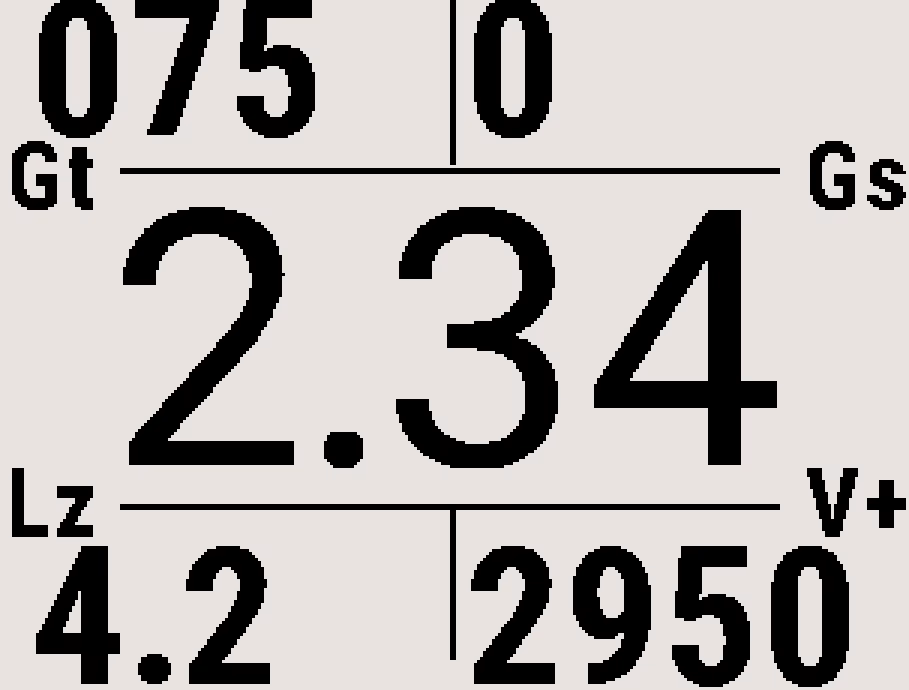
- GPS screen: Displays the names of the active DIP and HARP and the distance to each, or Not set.
- In the climb, with a HARP: Ha is the distance to the HARP and Et is the estimated time to reach it. The turn direction and distance field also point to the HARP.
- In the climb, without a HARP: Lz is the distance to the DIP.
- After exit: Every field points to the DIP: its distance, the turn to the DIP and the DIP glide. See Altitude Display Configuration.
Tip
Before every jump, check the DIP and HARP names and distances on the GPS screen, to make sure the correct markers are active.
Markers List #
From the GPS screen, press the center button, and select Markers List. The list is in alphabetical order, with the active DIP and HARP in bold. Select a marker to open it. If no markers are saved, the Stratos shows List Empty.
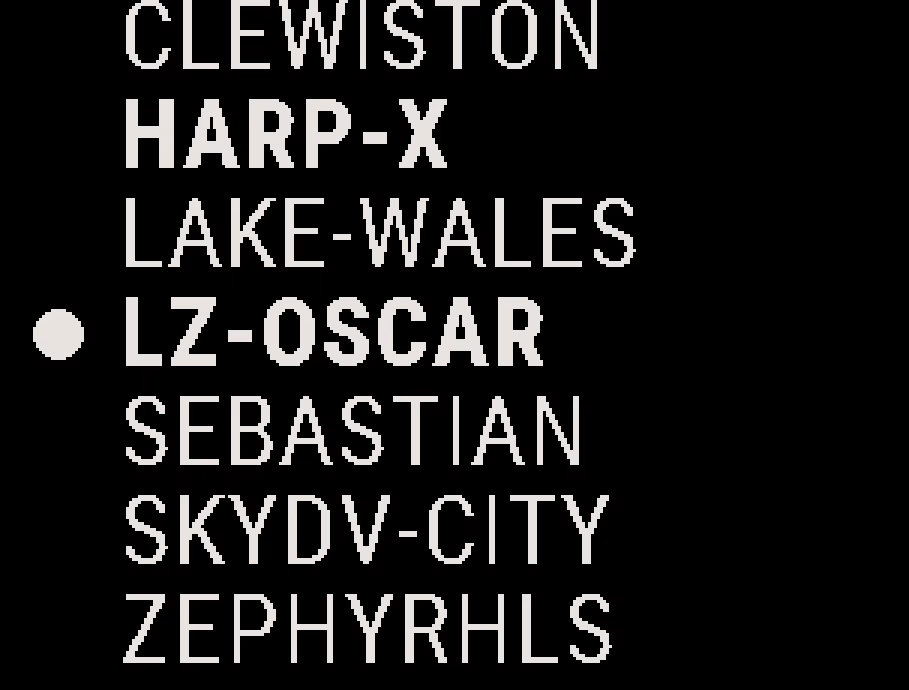
If the list is not in alphabetical order, from the Home screen, press the center button, and select System → Misc → Fix Marker List. The Stratos rebuilds the list.
You can also add markers with the Deep and Steep app. See Deep and Steep App Overview.
Adding or Editing a Marker #
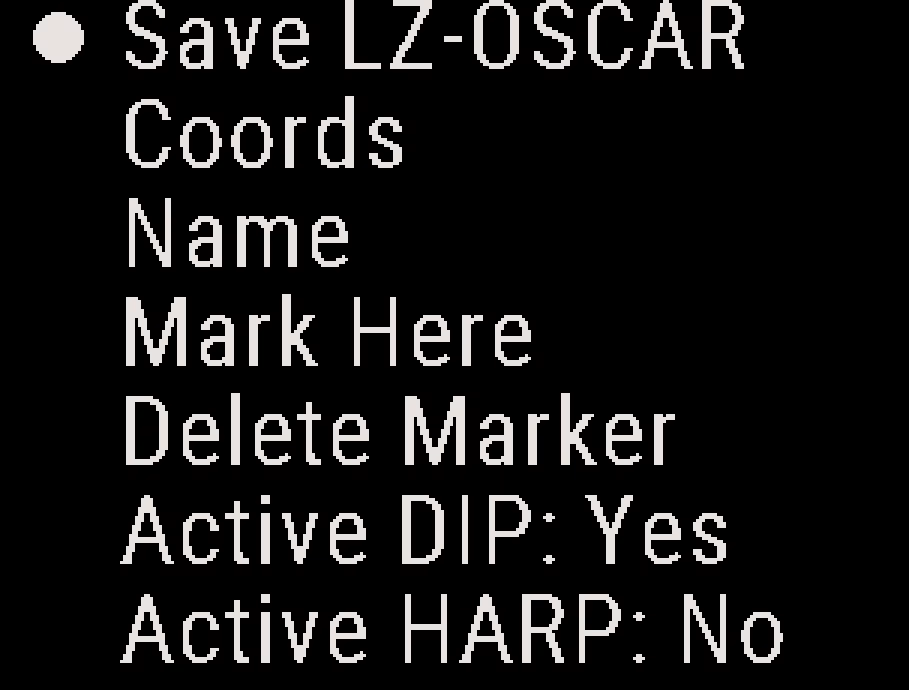
- From the GPS screen, press the center button, and select Add Marker, or open a marker from the Markers List.
- Select Name, and enter the name.
- Select Coords to enter the position, or select Mark Here to use your current position.
- Select Save (shown with the marker name) at the top of the menu. If you leave the menu any other way, the Stratos discards the changes.
Note
A new marker starts with the coordinates of the last marker you added.
Coords #
Enter the coordinates by hand, as MGRS (the default) or as Lat/Lon. To choose the format, see Display Units.
- MGRS: Enter the full 10-digit grid, 5 digits of easting and 5 of northing. Pad a 6- or 8-digit grid with zeros at the end of each half. For example:
552 890becomes55200 89000. - Lat/Lon: Enter decimal degrees with 5 decimal places. Use + for north and east, – for south and west.
Press the center button to move through every field to the end. If the Stratos shows Invalid coords when you save, check the coordinates, and enter them again.
If you only have a street address, or lat/lon in another format, use an online GPS coordinate converter.
Name #
Enter up to 10 characters: letters, numbers, “-” and spaces. A marker saved with no name gets a number as its name, such as 0007.
Mark Here #
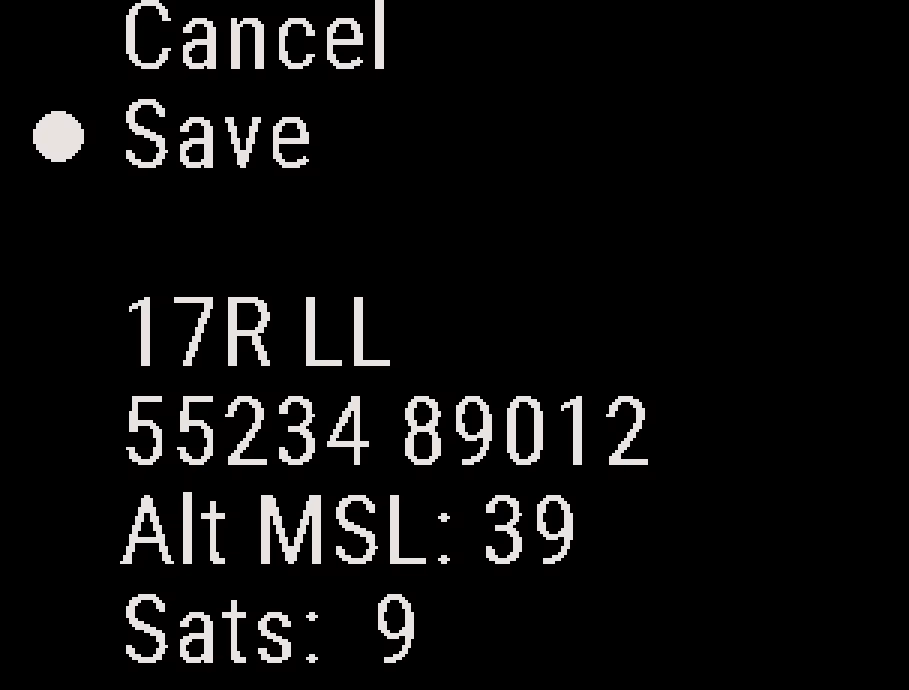
Mark Here uses your current position. The screen shows GPS Search… until the GPS has a fix, then your position, the altitude above sea level (Alt MSL) and the number of satellites (Sats).
Select Save to copy the position into the marker, or select Cancel to leave it unchanged. This Save copies only the position. To save the marker, select Save at the top of the marker menu.
- Stand in a clear area with nothing overhead within 20 ft. See GPS Signal Best Practices.
- The first time, the GPS can take up to 5 minutes to find your position.
- To mark a DIP, stand at the landing point for the most accurate distance on jump run.
Delete Marker #
Deletes the marker. If it was the active DIP or HARP, that setting is cleared.
Setting the Active DIP and HARP #
Open the marker, and select Active DIP or Active HARP. The change takes effect immediately, without Save.
- One marker can be the active DIP and one the active HARP at the same time. The same marker can be both.
- Setting a new DIP or HARP replaces the old one.
- Save a new marker before you set it as the DIP or HARP.
- A firmware update clears the active DIP and HARP. The Stratos keeps the marker list.


