
Last updated November 15, 2026
The Stratos can show altitude on its own, or with live GPS data such as ground speed, ground track and distance to the DIP.
By default, the Stratos shows only the altitude, in large numbers that are easy to read in all light. Experienced jumpers can set up the freefall and canopy displays to show GPS data.
In the Aircraft #
When the Stratos detects the climb, the altitude screen changes to a fixed layout for spotting and exit separation. After exit, it changes to the display set in Settings → Altitude Display → Mode.
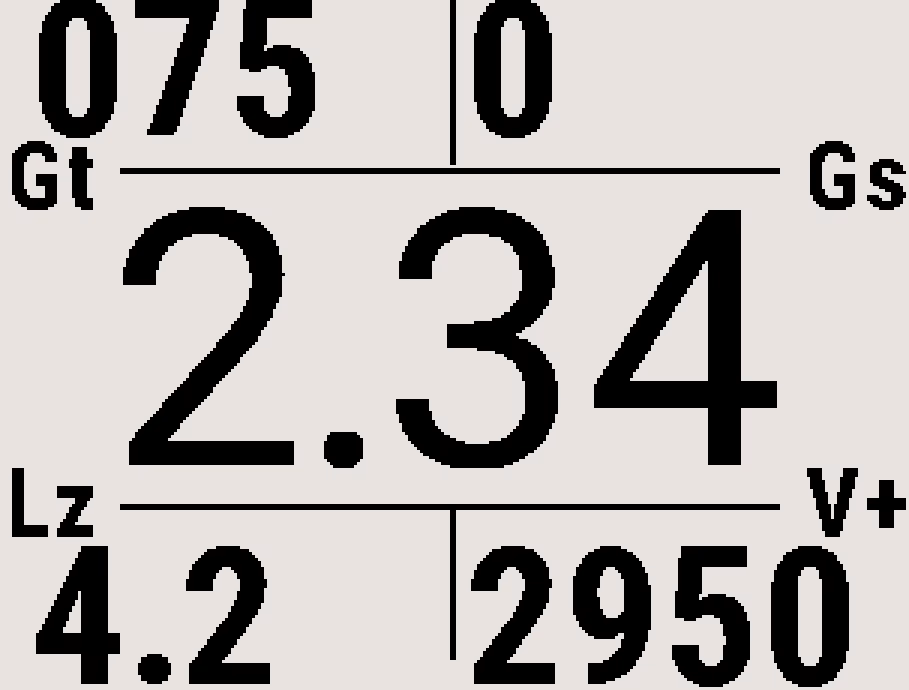
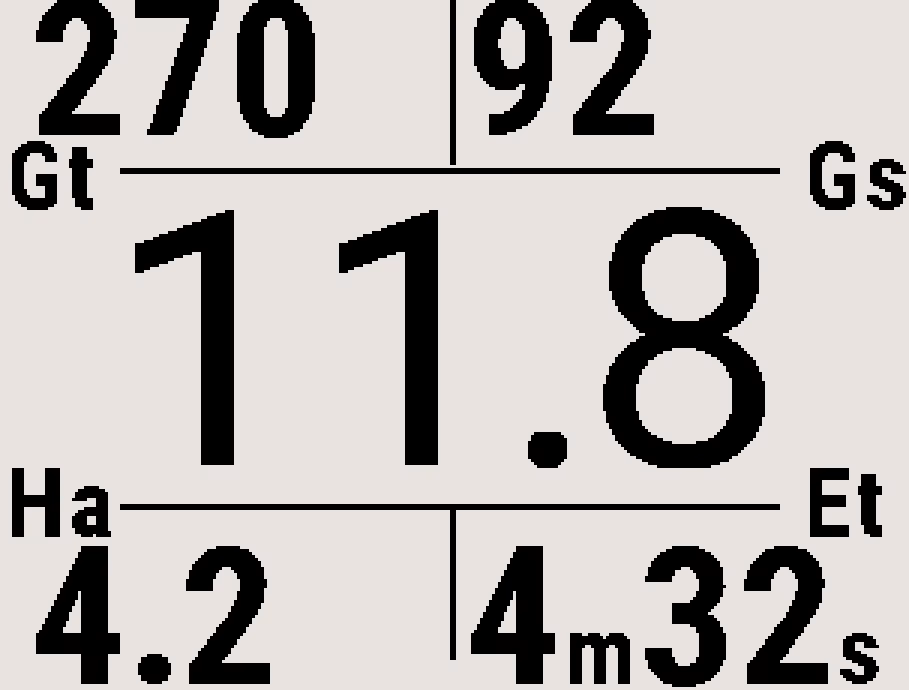
| Corner | Without a HARP | With a HARP |
|---|---|---|
| Top left | Ground track (Gt) | Ground track (Gt) |
| Top right | Ground speed (Gs) | Ground speed (Gs) |
| Bottom left | Distance to the DIP (Lz) | Distance to the HARP (Ha) |
| Bottom right | Vertical speed (V+ climbing, V- descending) | Estimated time to the HARP (Et) |
The altitude is in the center. Every field except altitude and vertical speed needs a GPS signal, and the distances need an active DIP or HARP. See GPS Markers – DIP and HARP. To change the units, see Display Units.
Standard Display #
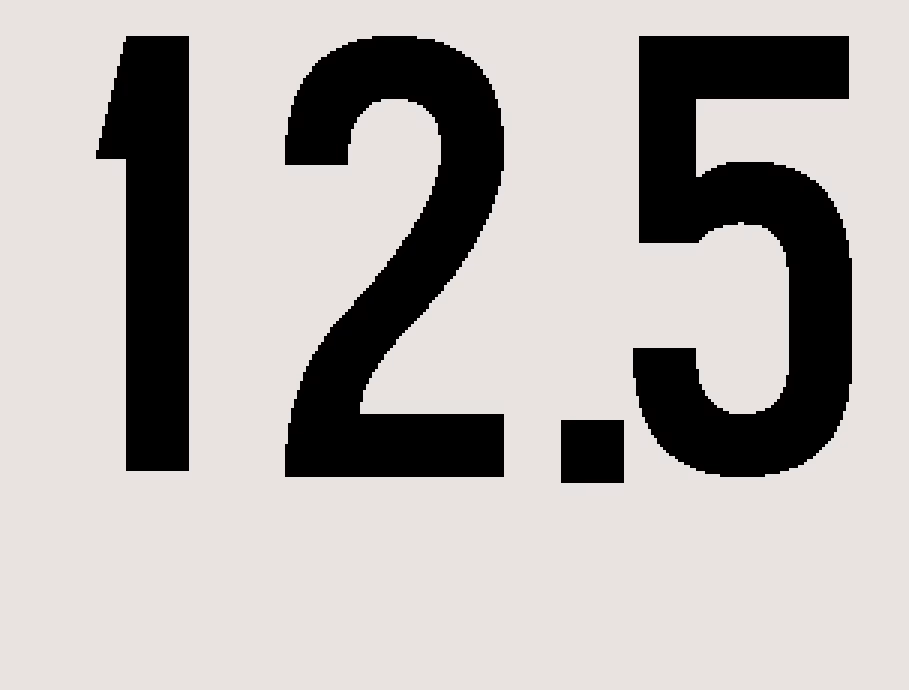
By default, the display in freefall and under canopy is Standard: only the altitude, in large, easy-to-read numbers.
Deep and Steep recommends the Standard display for newer jumpers, AFF students and anyone who does not need GPS data in the air.
Nav Display (GPS Navigation Data) #
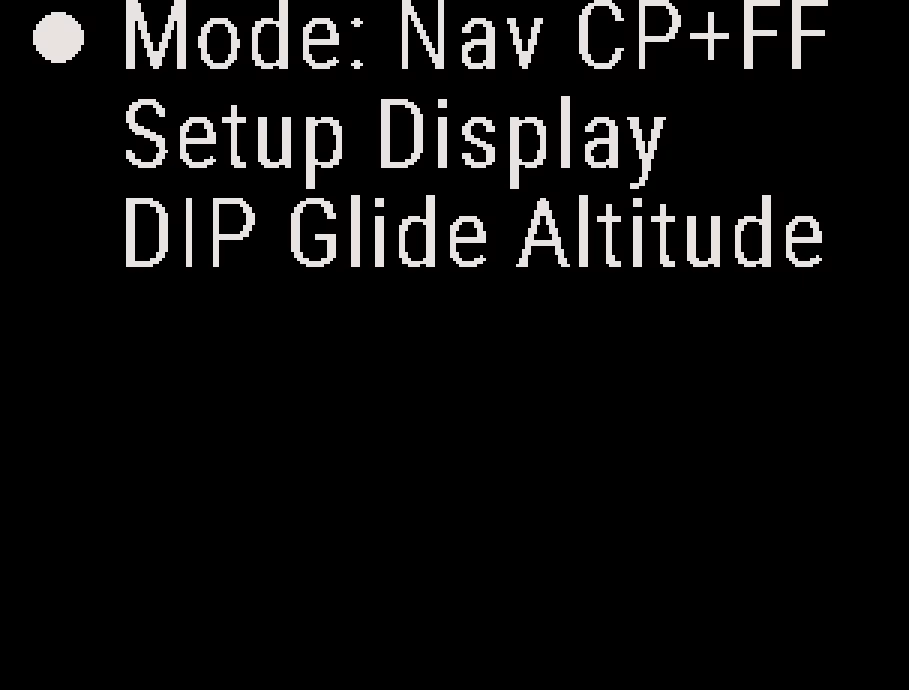
- From the Home screen, press the center button, and select Settings → Altitude Display.
- Select Mode. Each press of the center button changes the setting to the next option.
- Standard: Displays only the altitude, in freefall and under canopy.
- Nav CP: Displays GPS data under canopy, and the Standard display in freefall.
- Nav CP+FF: Displays GPS data in freefall and under canopy.
Note
Mode does not change the fixed climb screen. On the ground, Nav CP and Nav CP+FF show your Nav layout, and Standard shows the large altitude.
Setup Display #
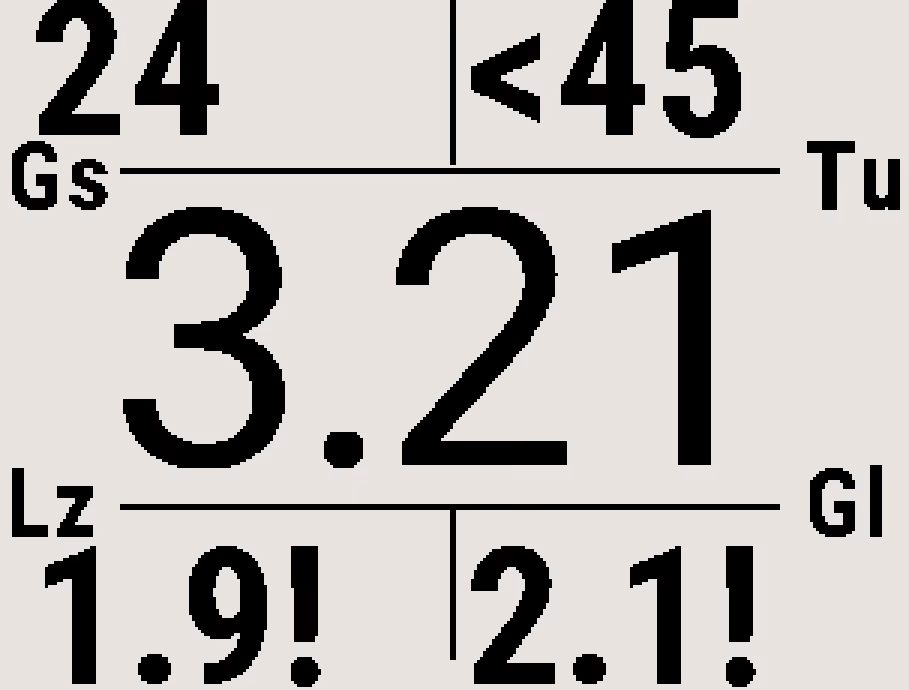
Setup Display on the same menu sets what each corner of the Nav display shows.
- Select Setup Display. The screen shows the layout, with the corner you are changing underlined and its field named in the middle.
- Press the up or down button to change the field for that corner.
- Press the center button to move to the next corner: top left, top right, bottom left, bottom right. After the last corner, the Stratos shows the finished layout for a moment and returns to the menu.
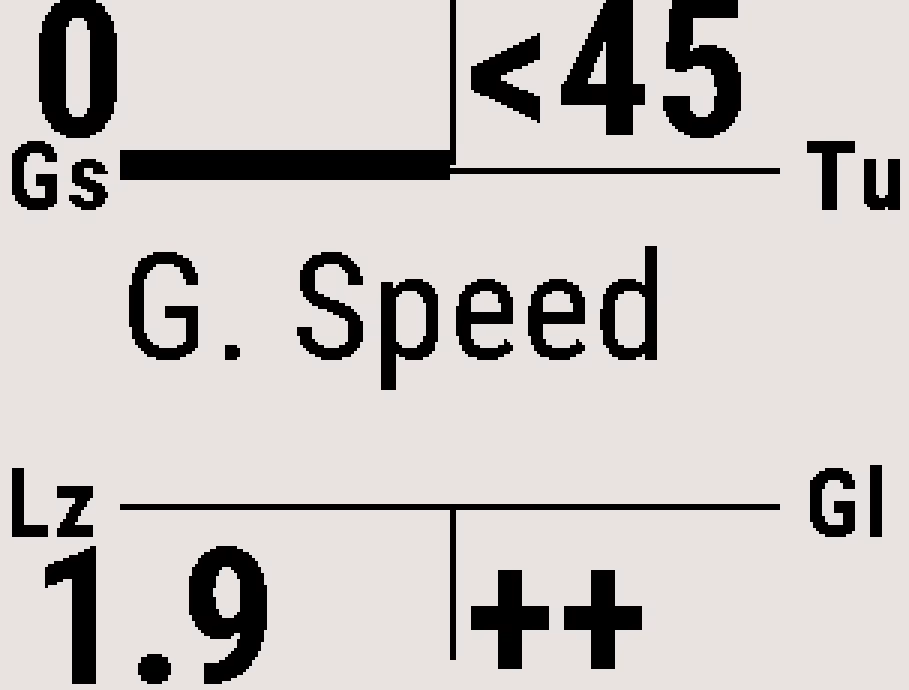
| Field | Shown as | What it shows |
|---|---|---|
| G. Speed | Gs | The speed across the ground. Winds aloft change the ground speed, so do not expect it to match the forward speed of the canopy. |
| G. Track | Gt | The direction of movement across the ground in degrees, rounded to the nearest 5. Winds can cause drift, so the ground track is not always your canopy heading. It is relative to true north unless a magnetic declination is set (see Magnetic Declination). |
| DIP Dist | Lz | The distance to the active DIP, up to 99.9. |
| V. Speed | V+ / V- | Vertical speed. V- is descending, V+ is climbing. |
| DIP Glide | Lg | The glide ratio needed to reach the DIP from your current altitude. |
| Cur. Glide | Gl | Your current glide ratio. ++ means you are not descending. |
| Turn to DIP | Tu | The degrees to turn toward the DIP: 15> turn right, <15 turn left, ^ heading straight at it. |
| None | Leave this corner blank. |
A GPS field shows – when the Stratos has no GPS fix. Lz, Lg and Tu always refer to the DIP.
DIP Glide Altitude #
DIP Glide Altitude sets how high above the ground you want to be when you reach the DIP. The Stratos uses it for DIP Glide and for the glide warning. Select DIP Glide Altitude, and enter the height on the DIP Glide Alt screen, in your altitude units.
Glide Warning #
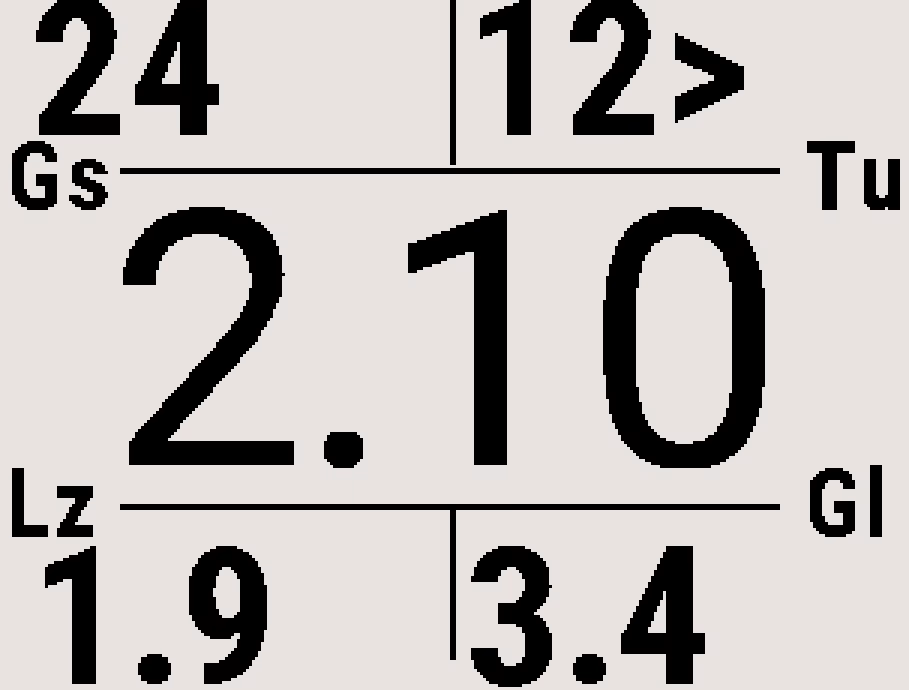
An ! after DIP Dist or Cur. Glide is the glide warning: at your current glide ratio you will not reach the DIP with at least the DIP Glide Altitude to spare.
Example
DIP Glide Altitude is set to 1,000 ft, and the display shows Gl 1.6!. Your current glide ratio is 1.6 to 1, and at that glide ratio you will not reach the DIP with at least 1,000 ft to spare.
Note
In Lockdown mode, the Stratos shows the Standard display at all times, including the climb. See Training Aides and Lockdown Mode.


